This is a starter project for any startup that wants to use Golang to build a REST API for their backend. It is built on a Mux router and tested with Testify. Find below the structure and philosophy.
Packages and Resources
- Golang 1.17 or above
- Git
- PostgreSQL
- Sql-migrate tool
- Postman
- VSCode
File structure
- migrate
- migrations/ contains all migrations written in SQL and run by sql-migrate
- dbconfig.yml file contains configuration for sql-migrate tool.
- pkg
- api/ functions which receive the API calls from the routes and call the services. They also write the responses from the services.
- database/ functions to connect to the database and perform any db operation.
- models/ all database models used to connect to the database.
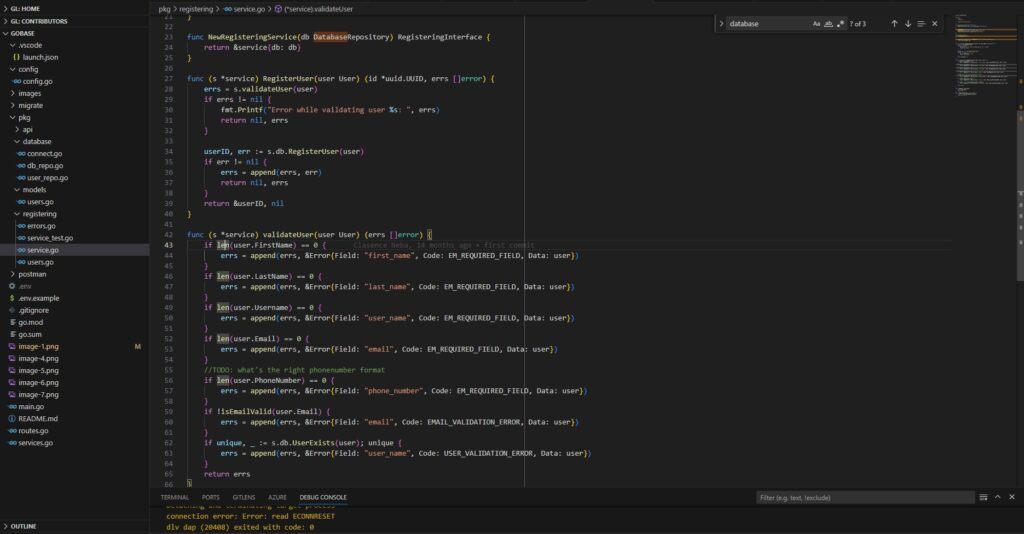
- registering/ All folders with names ending in ing are the sub-controllers with all the business logic. Each folder has a service.go file that has the logic and the service_test.go file which has the tests of the logic. The errors.go file contains all the errors. The rest of the folders contain data structures used in the business logic.
- postman/ This contains the postman collection with tests.
- env.example This contains all the variables which are application secrets. To run the code, you will have to create a
.envfile from this file and change all the variables to the ones you use locally. - main.go The main file which connects to database, connects all services, and starts running the code on the specified port (5010 in this case).
- services.go This file initializes all services.
- routes This file contains all the routes of the project.
Setup
NB: All commands below should be run on git bash or any bash-supported terminal.
1. Download and install git from here. This should also install git bash.
2. Download and Install PgAdmin 4 from here. This comes with PostgreSQL and should automatically run after installation on port 5432(unless changed during installation). Make sure to take note of your passwords. There should be a PgAdmin password and the default user password. After installation, open git bash and run the following commands to check if Postgres is running on the same port.
psql --versionIf the version does not show up, add psql path to your system paths. On windows, this is installed by default at C:\Program Files\PostgreSQL\14\bin for version 14.
- Connect user (use the default username, which should be postgres if not changed). Enter the default user password when requested.
psql -U postgres- Check connection status
\conninfoYou should see output like this image here. This contains the informations you will need to connect to the database.

- Start PgAdmin app( Can be found on the start menu on windows)
- Create a database called
gobasewith the user postgres.
3. Install latest Golang 1.*. Download the variant for your operating system here. After installing, open git bash and type the command below to see if you get the help page.
go version4. install sql-migrate tool globally
go install github.com/rubenv/sql-migrate/...@latestIf successful, try the command below and you should see the help output.
sql-migrate --help5. Clone this repository
git clone https://github.com/scneba/gobase.git
6. Go to root directory and run this command to install go packages.
go mod tidy7. Make a copy of the .env.example and rename it to .env. Update the connection string on line 1 to include your Postgres username and password.
CONNECTION_STRING=host=localhost port=5432 user=YOUR_USERNAME dbname=godb password=YOUR_PASSWORD sslmode=disable
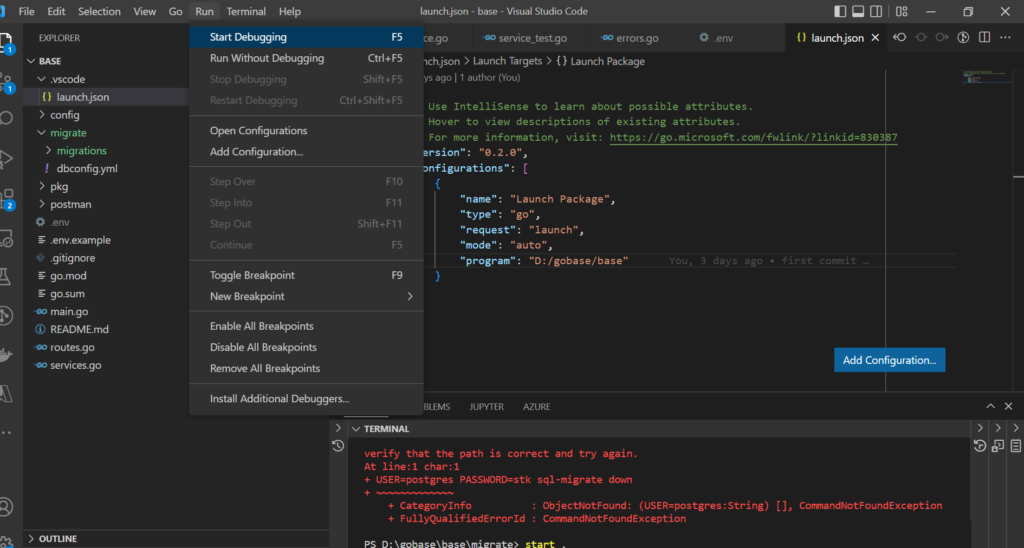
8. Go into the .vscode/launch.json file the program on line 4 to the full path to the project’s root.
9. On VSCode, top left, select run and start debugging

10. Install postman and create an account. Download from here.
11. Import the json filed in /postman/gobase.postman_collection.json into postman.
12. Update the variables to localhost:5010

Run the Postman test Add User Success and it should be successful.
Development

Testing
Ideally, all services in the project should have a service_test.go.

To run the tests, run the below command on git bash
go test ./...Congratulations, you are ready to start developing your REST API with Go.


